How to tie it
- Open the end — Unlay and whip the strands as for a crown; the wall is practically a crown reversed.
- Drop the first strand — Bring strand C downward and across the standing part.
- Wrap the second — Bring strand A over C and around the standing part.
- Climb up through the bight — Bring strand B over A and up through the bight of C, then draw everything snug.
- Finish — Trim the ends close, or tuck and taper them as in the crown for the look of Fig. 116.
Transcript
[WIDOWMAKER] Hello, my dears, and welcome to Widow Maker's Crafternoon — I'm your host, a rather enthusiastic little spider who has been alive for precisely a fortnight and is still delighted by the whole arrangement. Today we are tying the Wall Knot: a crown turned upside down, where the strands climb up through each other's bights in the most satisfying fashion. Do fetch your rope and meet me at the table.
[WIDOWMAKER] The Wall Knot is the crown's clever mirror image — it stops a rope's end beautifully, and it forms the very foundation of the shroud knot, so learning it now is rather like getting two knots for the price of one, which suits my budget admirably.
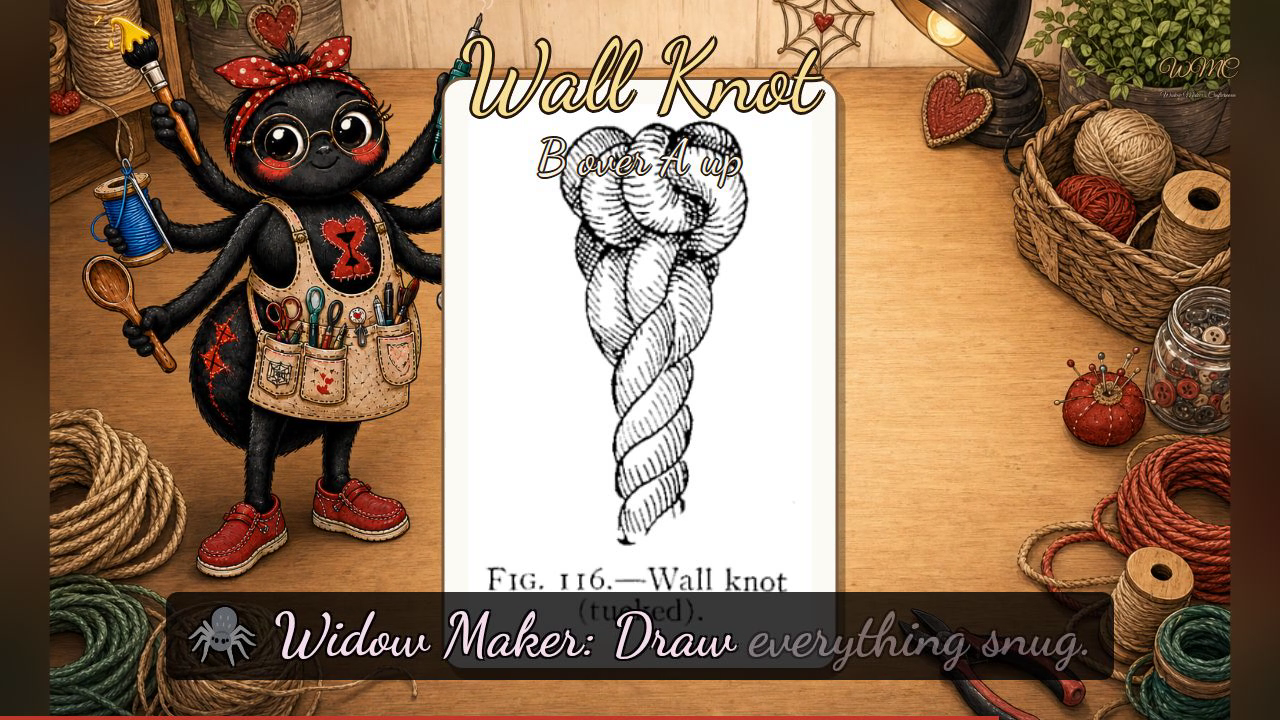
[WIDOWMAKER] We have three figures before us from the 1917 Verrill plates. Figure one-fourteen shows the finished wall knot: a rounded, crown-like lump sitting atop a three-strand rope, with three lovely loops visible around its circumference — that is where we are headed. Figure one-fifteen, labelled "making," is where we begin: the three strands are unlaid, and you can see strand A at the lower right, B at the upper left, and C to the left. Each strand bends in a loop and tucks up through its neighbour's bight — down, around, and up through the bight — until all three interlock in a ring with every end emerging upward. That is the mnemonic to carry with you: down, around, and up through the bight; the wall stands the crown on its head. Draw everything snug. Figure one-sixteen shows the tucked finish: the ends hauled tight and tucked a second time up alongside the standing part, producing that larger, neater, doubled crown.
[WIDOWMAKER] Well done indeed — and if yours looks a touch more like a small bird's nest than a crown, that is perfectly fine; the rope is learning too. I'll see you next Crafternoon. Bye-bye for now, my dears!
Scenes