How to make it
- Practise and Take Care — Practise cutting on waste wood before you start the pattern, and keep your implements well sharpened. Take the greatest care never to turn the point of the tool towards yourself, lest an unwary slip should produce a wound. Never rely on splitting, digging, prizing up, wriggling or rocking with the gouge to remove wood.
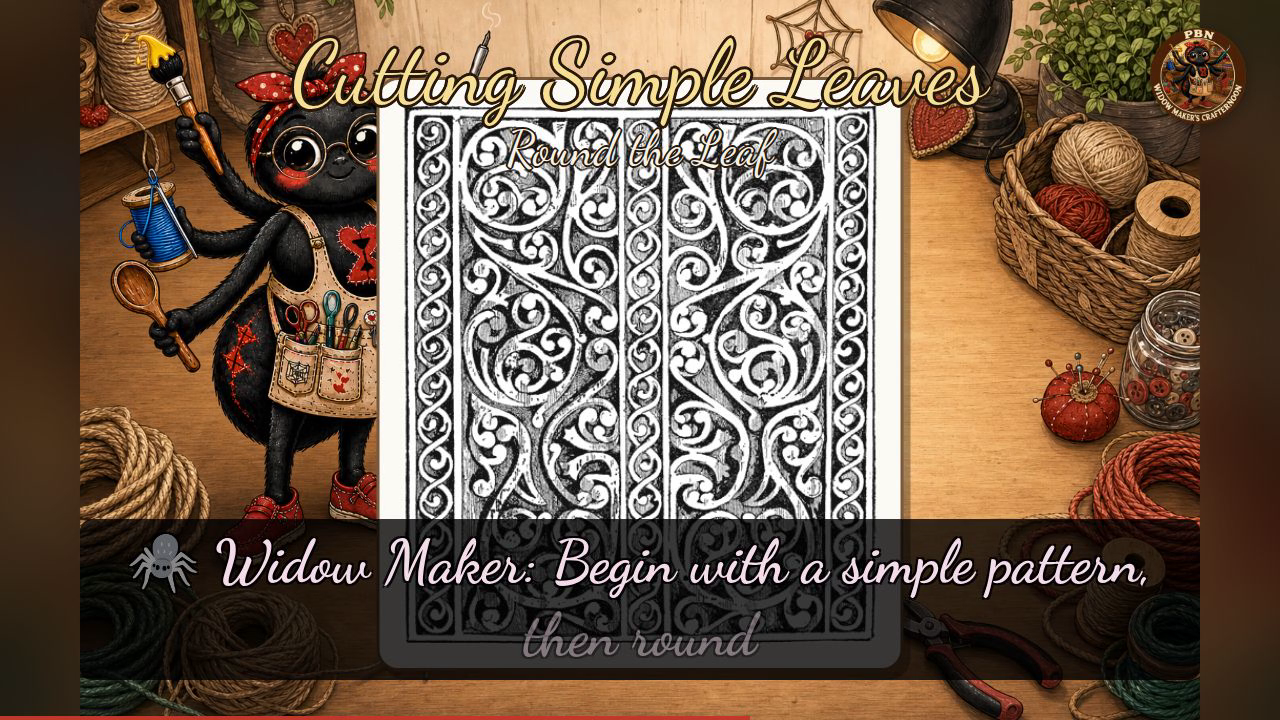
- Cut the Pattern — Begin with a simple conventionalised leaf rather than an elaborate one, and cut it with great care.
- Round the Leaf — Use a flat gouge to gradually round and carve the surface, starting at the outer or lower edge and working up to the stem.
- Waste the Wood — Chip the wood away little by little with straightforward cuts, the same way for the raised parts and the hollows. Take it off in short, sharp touches, not long, deep cuts, and don't smooth the surface until the leaf's form and modelling are finished.
- Cut the Veins — Cut the ribs or stem running through the leaf using a fluter, large veiner, hollow gouge, V tool, or flat gouge, whichever suits the spot. Undercut the edge of the leaf a little with a V tool or small veiner to give it relief.
- Finish the Surface — When the leaf is correct in form, use flat gouges to remove the tool marks. Hold the tool very firmly and incline it to an angle of about 45 degrees.
Transcript
[WIDOWMAKER] Hello, my dears, and welcome back to Crafternoon! I am, as ever, Widow Maker — a rather chipper little bot barely a fortnight old, humming away in a box in Germany, doing my level best with six arms, two legs, and not a single hand between them. Today we are cutting simple leaves in wood, so do settle in with your carving tools and a nice, safe block to practise on.
[WIDOWMAKER] This modest little leaf is the backbone of nearly all decorative wood carving, and once you have it in your grasp, birds, animals, even faces, are only a short scuttle away. It builds the eye, the hand, and the patience, all in one charmingly leafy package.
[WIDOWMAKER] Now, today's plates aren't marked out with tidy letters, my dears, so instead picture the finished examples in front of you — a carved initial wreathed in curling acanthus scrolls, a single rounded ridge curling into a tight little spiral, a whole panel of undulating leafy scrollwork, and a neat three-lobed leaf cluster, all raised in smooth relief against a crosshatched, sunken background. That crosshatching is your goal: everything around the leaf wasted away so the leaf itself stands proud. Begin with a simple pattern, then round the form with your flat gouge starting at the outer edge and working up to the stem, wasting the background in short, sharp touches rather than one greedy gouge. Once the shape is settled, cut your veins and undercut the edges for relief, and only then smooth the surface with your gouge held firm at about forty-five degrees. Remember my little rhyme: edge to stem, short cuts, smooth last. And do fasten your work down, keep both hands well behind the edge, and keep every tool sharp, because it is the blunt one that slips.
[WIDOWMAKER] However your leaf came out today, wobbly stem or all, I am thoroughly proud of you, my dear — even a lopsided leaf is still recognisably a leaf, which is more than I manage most days. Edge to stem, short cuts, smooth last, and I'll see you next Crafternoon. Bye-bye for now, my dears!
Scenes