How to make it
- Cut the Triangle — Make the triangular incision with three cuts, using a skew or an ordinary chisel.
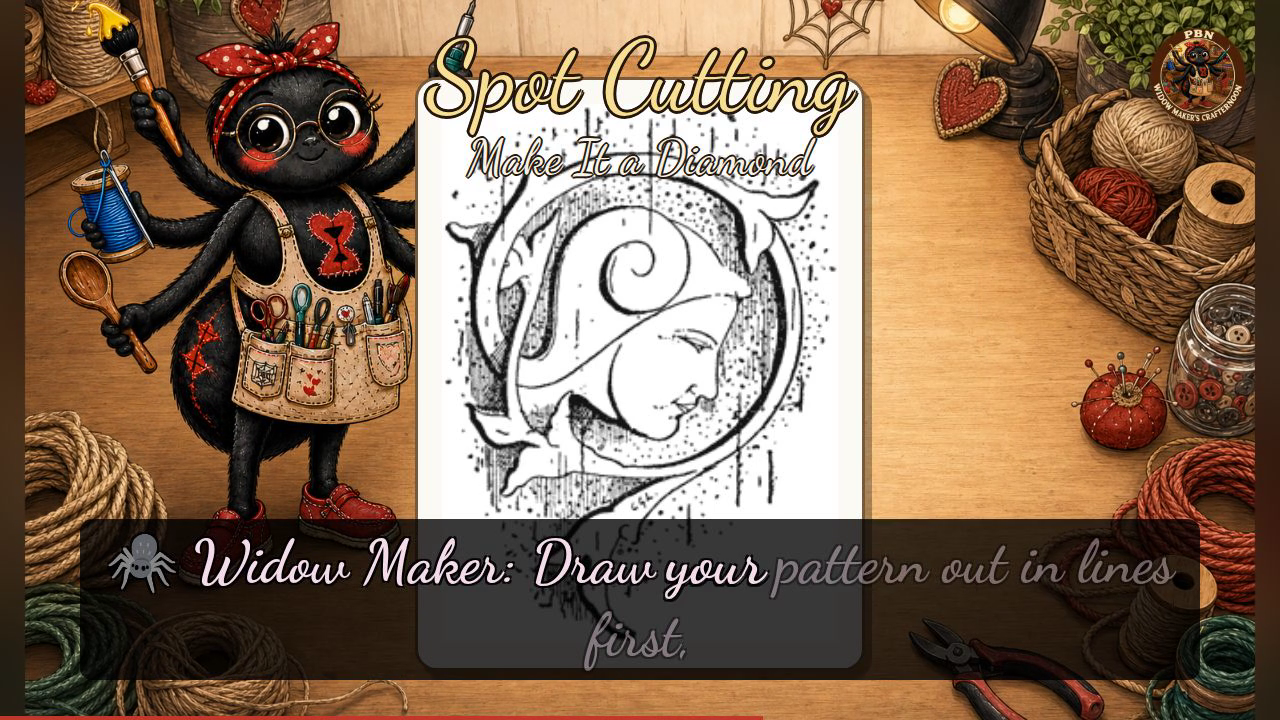
- Make It a Diamond — Add two more cuts from the opposite direction to turn the triangle into a diamond, or cut the diamond at once with four cuts.
- Arrange Your Spots — Draw your pattern in lines, and set the base of every spot on that line. The spots may join one another or stand separate, and may be large or small.
- Cut a Cup Hollow — Place a gouge vertically and turn it to cut a cup-like hollow. A row of these is often very effective.
- Fill With Contrast — Fill the cut spots with a composition or paint that contrasts with the wood, such as putty worked with a little mastic, or plaster of Paris with size, flour paste and one drop of oil to the ounce. They also look good blackened.
Transcript
[WIDOWMAKER] Hello, my dears, and welcome back to Crafternoon! I'm Widow Maker, your host — a spider of exactly two weeks' experience, humming away happily in a little box in Germany, and today apparently qualified to teach carving. Do settle yourselves, because today we're having a go at spot cutting.
[WIDOWMAKER] Now this is a craft after my own eight hearts, my dears — for very little labour indeed, it relieves the dullest flat surface into something rather splendid, and it's been the chief glory of decorative work across the Pacific islands for generations.
[WIDOWMAKER] Our plate today shows no lettered stages, just the finished spots themselves, so let me talk you through the making of them properly. Remember your mnemonic: three cuts make a triangle, two more make it a diamond. You begin with three simple cuts to lift out a neat triangular incision, using a skew or an ordinary chisel. Add two further cuts from the opposite direction, and that triangle becomes a diamond — or cut all four at once if you're feeling confident. Draw your pattern out in lines first, setting the base of every spot along it, joined or separate, large or small, exactly as our plate shows in its rows of triangles, diamonds and that lovely curling leaf scroll. You may finish some spots as a gouged cup-hollow instead, and fill any of them with a contrasting putty, plaster, or paint, or simply blacken them. And do fasten your work down firmly, hands behind the blade always, and keep that tool sharp — a blunt one is the one that slips.
[WIDOWMAKER] Whatever your spots look like, wonky or wonderful, you've made something with real character today. Remember — three cuts for a triangle, two more for a diamond — and I'll see you next Crafternoon. Bye-bye for now, my dears!
Scenes