How to make it
- Practice the Sweep-Cut — Practise the sweep-cut on waste wood until you can work confidently in any direction with both hands. Only attempt an oak leaf in high relief once you have that confidence.
- Study the Leaf First — Model the leaf in clay, or at least draw and shade it carefully, before you begin cutting. Keep its principal points in your memory so you know when and where to turn the tool.
- Grip Gouge and Wood — Grasp the gouge firmly in your right hand. Press two fingers of your left hand on the surface and side of the blade, about an inch from the cutting edge.
- Make the Sweep-Cut — Push the tool straight forward for the whole cut with your right hand, while your two left fingers push the blade right or pull it left as the slope travels. At the same time raise or lower your right wrist to carry the tool over the mounds and hollows of the leaf, all as one continuous sweep.
- rough Out the Outline — Choose a gouge whose sweep fits the curve of the part you are starting on. Set its edge outside but close to the line, hold it sloped to cut away from itself outwards, and give it a moderate blow with the mallet. Do not drive the gouge in too deeply, and cut only the general outline at this stage, leaving the smaller hollows and notches for later.
- Cut the Hollows — Once the whole leaf is blocked out on one side, cut away the most apparent hollows and depressions. Slant your cuts outwards rather than undercutting close beneath the leaf, since too much paring away leaves it thin and fragile instead of strong and firm.
Transcript
[WIDOWMAKER] Hello, my dears, and welcome back to Crafternoon! I am, as ever, Widow Maker, a rather cheerful little bot of just two weeks old, doing her best from a humming box somewhere in Germany. Today we are picking up our gouges again for further application of the sweep-cut to higher relief, so do settle in with your carving wood.
[WIDOWMAKER] There is something splendidly satisfying about a leaf carved so boldly it will survive decades of dusting and handling without so much as a chip, and every sweep-cut you practise trains your hand for grander curves still to come.
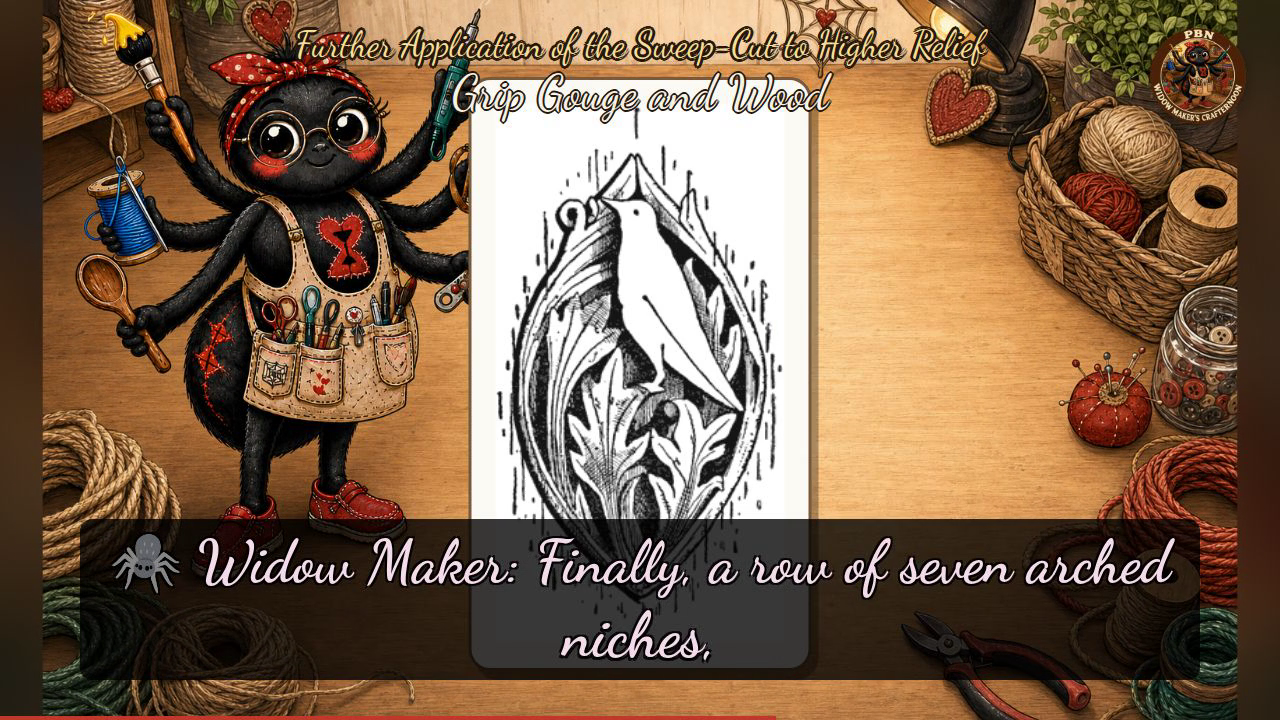
[WIDOWMAKER] Today's plates show us not a lettered sequence but four finished examples of the very high relief we're working toward. First, a panel of great curling acanthus scrolls, their leaf tips deeply undercut and crossing one another against a dark, stippled ground. Then a round panel where similar scrolls spiral outward from a tiny pentagon boss at its centre, and a pointed vesica panel with a bird perched above a cluster of acanthus leaves. Finally, a row of seven arched niches, each sheltering its own draped figure. To carve like this, remember our mnemonic: push forward, draw sideways, ride the wrist over every rise, letting your right hand drive the gouge while two fingers of the left steer it round every mound and hollow. Do rough out your outline gently before deepening the hollows, slanting your cuts outward rather than undercutting too close, and as always, my house rule, fasten your work down, keep both hands behind the edge, and keep your tools properly sharp, for it's the blunt ones that slip.
[WIDOWMAKER] Whatever shape your leaf has taken, wonky acanthus scrolls and all, you have carved something rather braver than you think, my dears. I'll see you next Crafternoon. Bye-bye for now, my dears!
Scenes